What is expense management?
Expense management is a sub-category of spend management and relates to the tracking and controlling of employee spend.
What can I do with Soldo expense management features?
With our new functions you can:
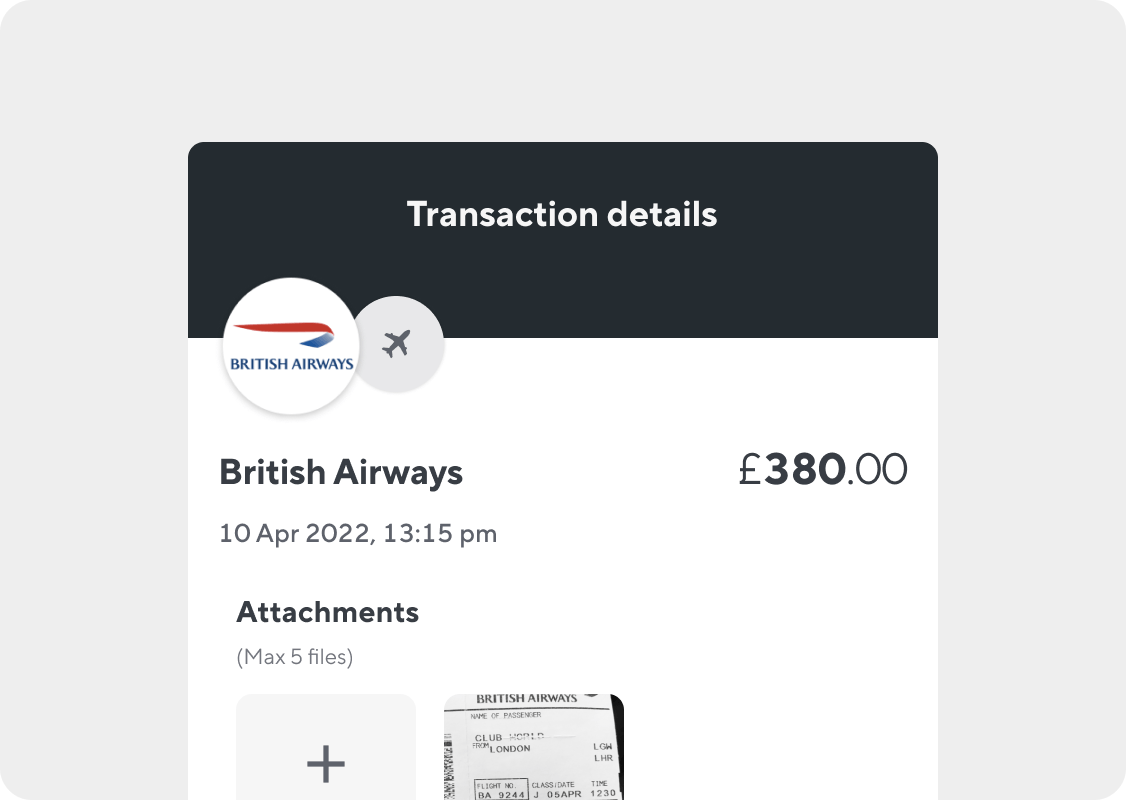
- Review, track, and approve all business expenses, even for out-of-pocket purchases.
- Auto-tag expenses with custom categories and classify any transaction as either company or personal expenses.
- Set-up spending policy limits, creating a spending policy profile that will mirror your company policy, to highlight and report all the transactions not in line with company rules.
- Split a single transaction into multiple transactions, to attribute the correct amounts to the correct employees.
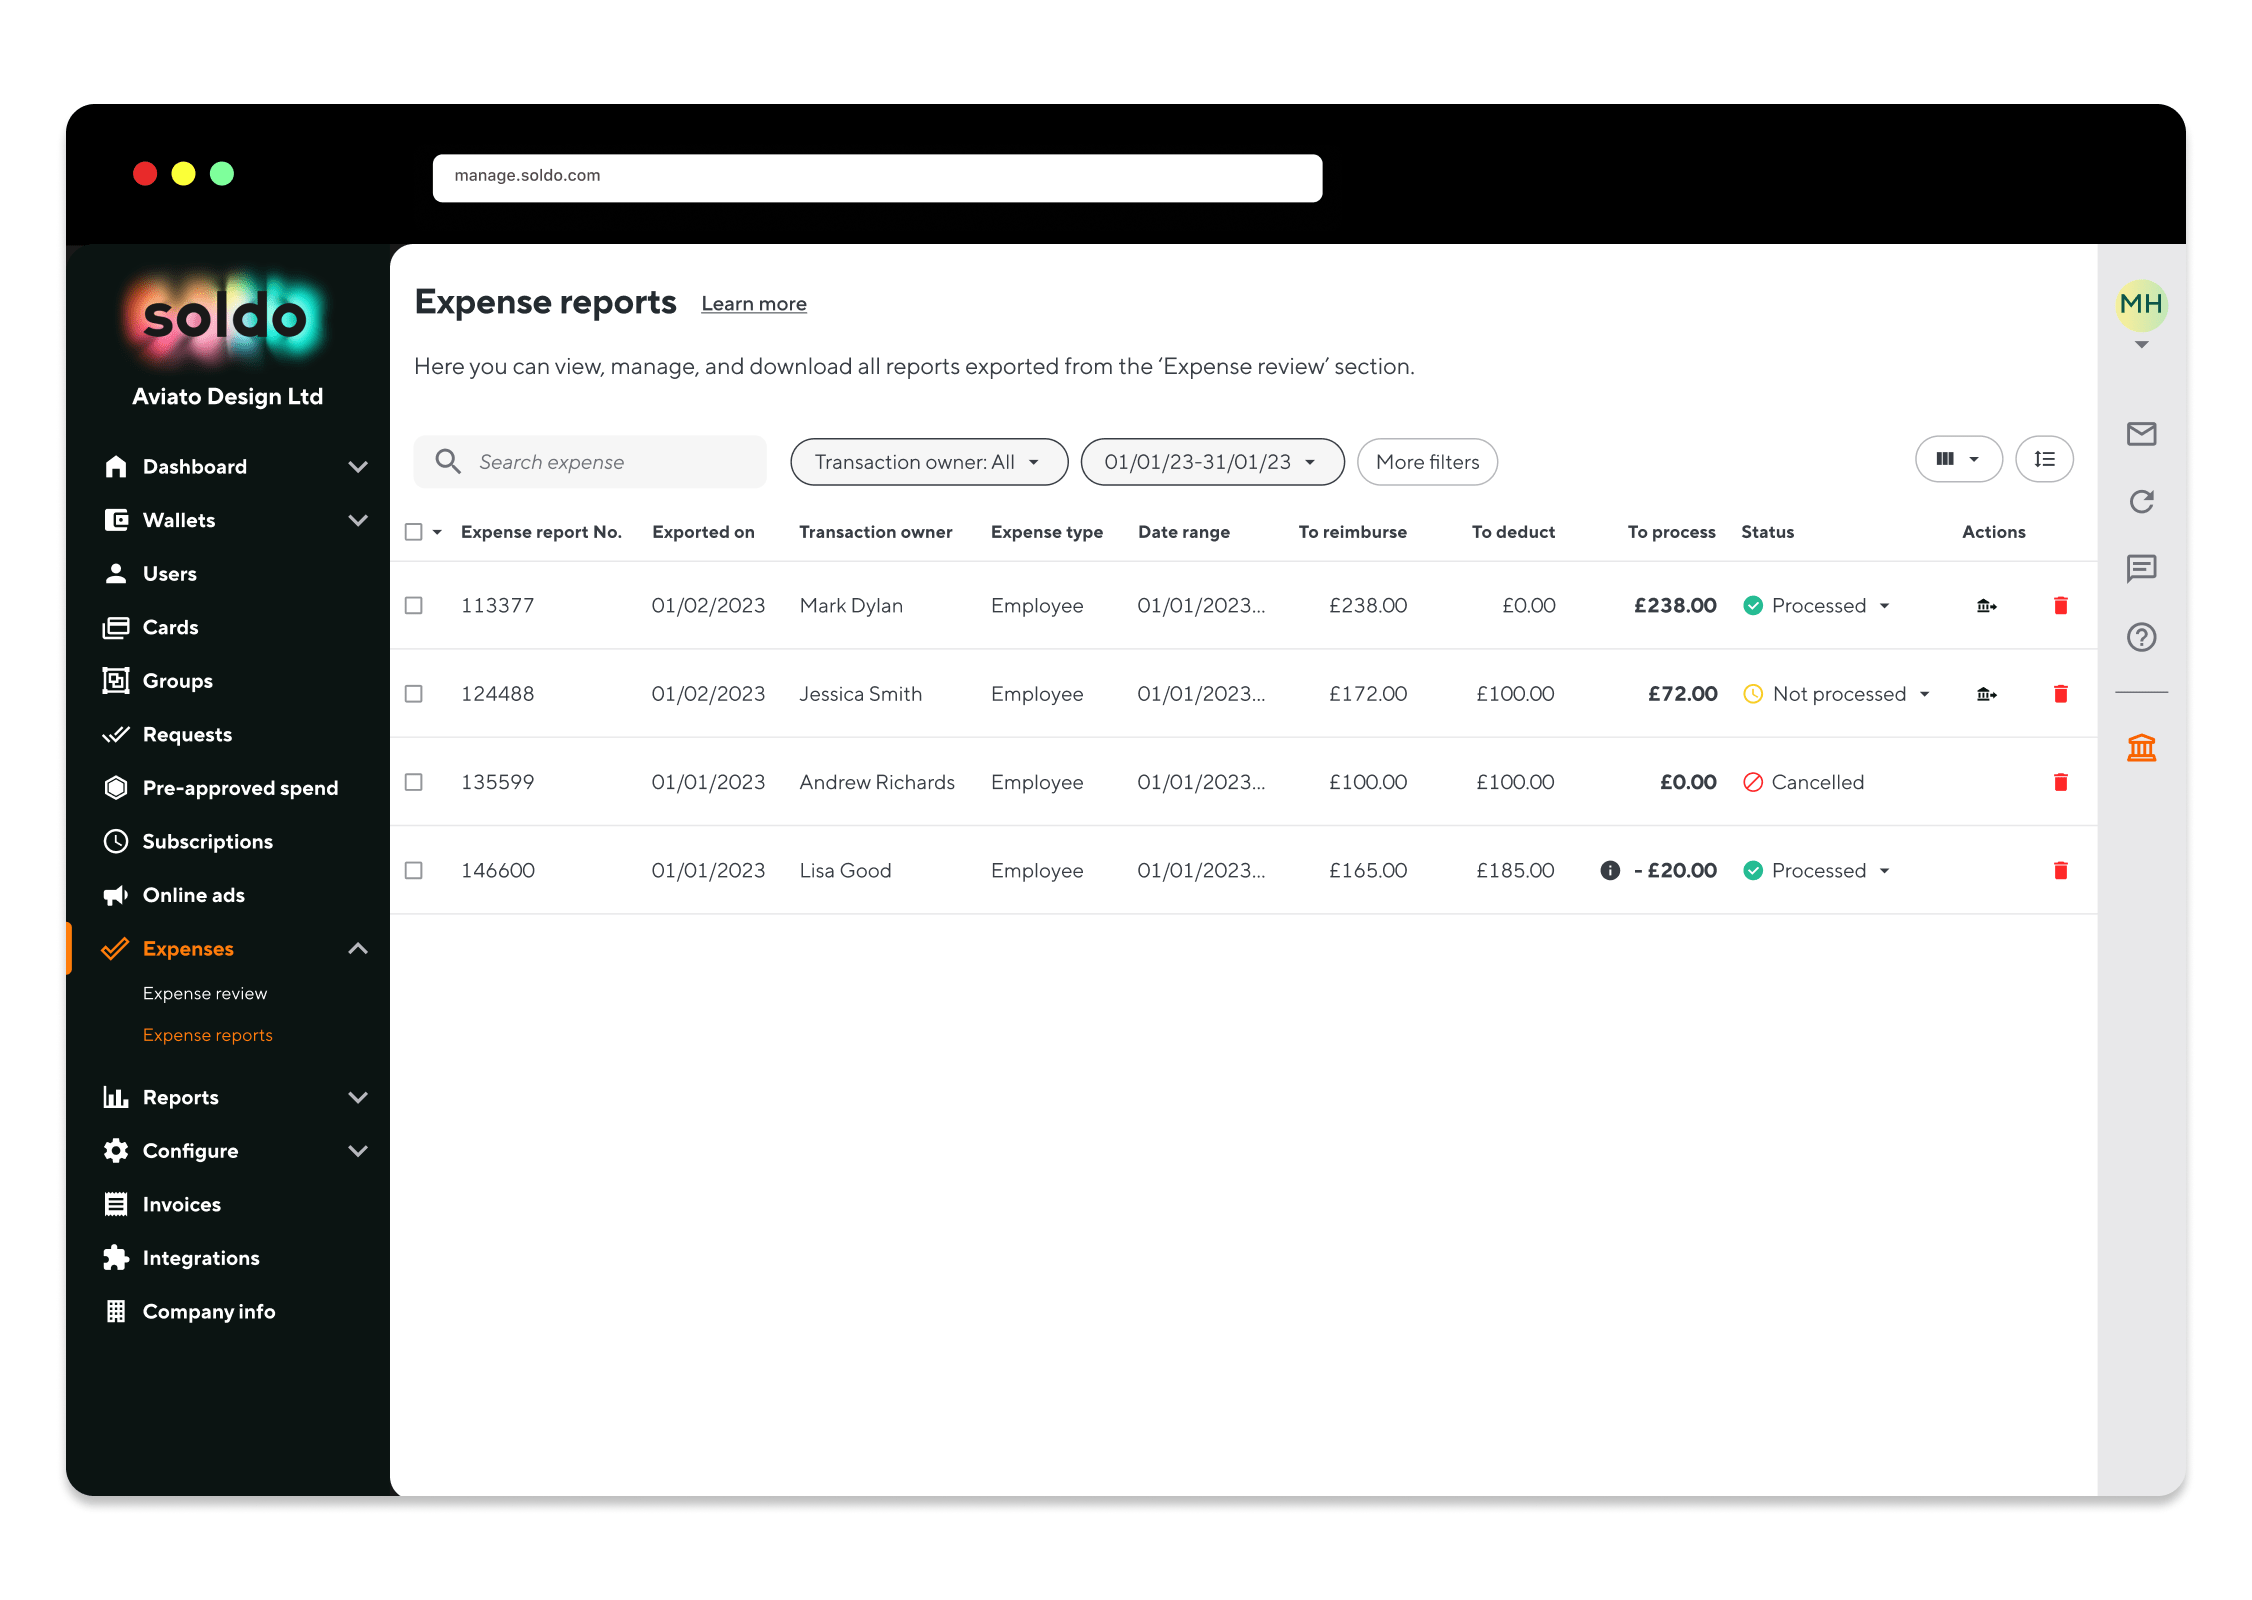
- Get a reimbursement report that outlines the funds that need to be reimbursed to employees and any amounts that have exceeded your spending policy limits.
- Download an official PDF document where you can add the spender and approver signatures.
Who can use these features?
Any employee of the company that is given access to the Soldo account can use the expense management capabilities with different responsibilities, in line with their profile:
Super Admin/Admin: Set up the ‘Expense review’ feature, grant permission to check and approve expenses, give others access to approve/reject or request transaction info, edit employee expenses, set up spending policy profiles, add out-of-pocket expenses, set up expense categories, split transactions, download reports in different formats and expense claims in PDF.
Accountant: View and enrich their own and employee expenses, add their out-of-pocket expenses, categorise their expenses, split their transactions, download reports in different formats and expense claims in PDF.
Line Manager: View their own and specific employee expenses, enrich their transactions, approve/reject or request transaction info for specific employee expenses, add their out-of-pocket expenses, categorise their expenses, split their transactions
Employee: View and enrich their transactions, add their out-of-pocket expenses, categorise their expenses, split their transactions.
How can I review, track, and approve all business expenses?
See ‘How do I set up the expense review feature?’ section.
How can I add out-of-pocket expenses?
To add an out-of-pocket expense:
- Choose the ‘Users’ section within the platform.
- Click on ‘Transactions’ and then ‘Add transaction’ in the top right-hand corner.
- Fill in the transaction info with value, date, hour, merchant, and the information requested, then add the expense receipt and confirm.
- Your out-of-pocket expense will now be visible in the list of all your transactions.
How do I create expense categories?
If you’re a Super Admin or an Admin, follow these steps to create expense categories:
- Choose the ‘Configure’ section within the platform.
- Click on ‘Accounting classification’ and then ‘Expense category’ at the top of the page.
- Click into the list to review all the expense categories that you’ve already configured.
- If you’ve never added an expense category or you want to add more expense categories, click on ‘Create list’ in the top right-hand corner.
- Fill in the ‘General info’, including code, VAT, and category name, then click ‘Next’.
- In ‘Rules’ you can set rules based on MCCs to auto-assign your expense category to specific transactions, click ‘Next’.
- Now on the ‘Review’ page take a moment to review and to check you’re happy with everything.
- Click ‘Confirm’ and that’s all done. Your expense categories are ready to automatically tag and categorise your transactions.
How do I set up a spending policy profile?
If you’re a Super Admin or an Admin, follow these steps to set-up a spending policy profile:
- Choose the ‘Configure’ section.
- Click on ‘Expense policies’ and then ‘Create an expense policy’ in the middle of the page.
- Fill in general info such as title and description of the spending policy profile, then add your company expense policy and click ‘Next’.
- On the ‘Allowance’ page, you can start to configure a maximum spending amount for each expense category, click ‘Next’.
- Click ‘Add user’ and choose the users you want to add and attribute policy profile limits to and then click ‘Next’.
- Now on the ‘Review’ page, take a moment to review and to check you’re happy with everything.
- Click ‘Confirm’ and that’s all done. Your spending policy profile is ready to automatically intercept, highlight, and report all your out-of-policy transactions.
How can I split a single transaction?
To split a single transaction:
- Choose the ‘Users’ section.
- Click on ‘Transactions’ and then on the transaction that you want to split.
- All info about this transaction will appear on the right-hand side.
- Scroll down until you see ‘split transaction’ and start to create a line for each user that you want to attribute part of the expense to.
- Fill in the user names and the amounts you want to attribute to each employee and then click ‘Save’.
- Now in the transaction detail you’ll see how the transaction has been split, with names and details.
Remember that the split information will only be visible in the transaction details and related reports, employees that have amounts attributed to them won’t see their part in their transaction list.
What reporting is available for expenses?
Admins or Accountants can download PDF documents, ready for spender and approver signatures. Once expenses have been approved, a report can be created for each user. You can also use the accounting platform report to see the status of each expense. Download report files in different formats in the ‘Reports’ section.
Are expense management capabilities available in all markets?
Yes, these features are available in all the markets we operate in.


